PHASE 01 · 시작
API 키 발급부터 개발 환경 세팅까지
STEP 01
앱 추가 및 API 키 발급
Open API를 호출하려면 먼저 앱을 만들고 API 클라이언트 키와 시크릿을 발급받아야 합니다.
앱 만들기
- 앱 화면에서 신청서를 작성합니다.
- 서비스 이름, 서비스 영문 이름(채널 코드), 서비스 URL을 입력하고 제출합니다.
- 운영팀 검토 후 비공개 채널이 생성되며, 검토 결과는 이메일로 안내됩니다. 승인되면 아래 절차에 따라 앱 상세 페이지에서 직접 API 키를 생성할 수 있습니다.
API 클라이언트 발급
- 앱 상세 페이지의 API 클라이언트 섹션에서 [클라이언트 추가] 를 클릭합니다.
- Client ID(자유 형식, 최대 100자)와 사용할 스코프를 선택합니다.
- 생성 직후 표시되는 Client Secret을 즉시 안전한 곳에 저장 하세요. 이 값은 다시 표시되지 않습니다.
스코프
buildingUnit:readBUILDING_UNIT_READ방 조회buildingUnit:writeBUILDING_UNIT_WRITE방 매핑 생성·수정booking:readBOOKING_READ예약 조회booking:writeBOOKING_WRITE예약 생성·수정contract:readCONTRACT_READ계약 조회contract:writeCONTRACT_WRITE계약 생성·수정 (방식 B)user:writeUSER_WRITE회원 생성 (방식 A · 로그인 연동)userLoginTicket:writeUSER_LOGIN_TICKET_WRITE로그인 티켓 발급 (방식 A · 로그인 연동)chat:readCHAT_READ채팅 조회chat:writeCHAT_WRITE채팅 생성·전송
결과
Client ID와 Client Secret을 확보했다면, 이 키 쌍은 모든 API 요청의Authorization: Basic … 헤더에 사용됩니다.STEP 02
테스트 방 등록 및 채널 매핑 설정
API로 계약·예약을 등록하려면 테스트용 방을 만들고 채널 매핑을 설정해야 됩니다.
절차
- 호스트 화면에서 새 방을 등록합니다.
- 채널 매핑 화면에서 등록한 방을 선택하고 방 단위 매핑과 호실 단위 매핑을 설정합니다. 방 단위 매핑은 선택적으로 입력이 가능하나 호실 단위 매핑을 설정해야 Open API로 계약 등록이 가능합니다. 외부 매물 ID는 해당 채널에서 사용하는 호실의 ID 값으로 설정해주시면 됩니다.
- 게스트 페이지에서 등록한 방을 확인하려면 /rooms/{roomId}로 접속해주시면 됩니다.
참고
외부 매물 ID 예시) https://www.airbnb.co.kr/rooms/1252576808547167623 1252576808547167623STEP 03
MCP로 문서 탐색
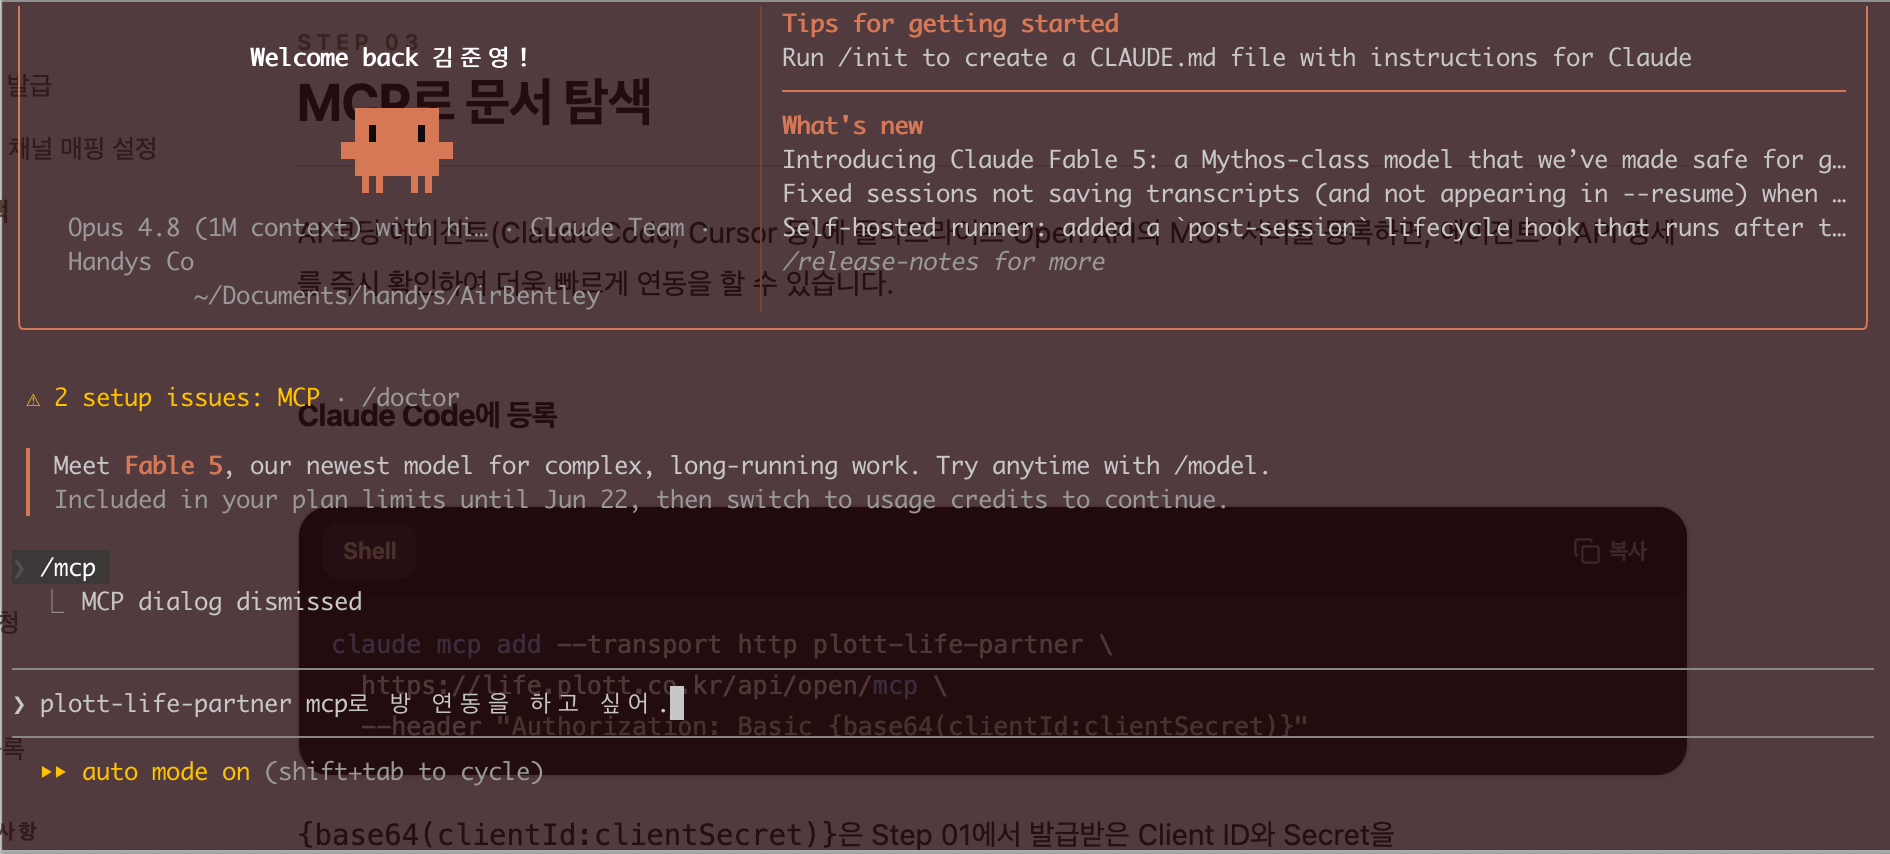
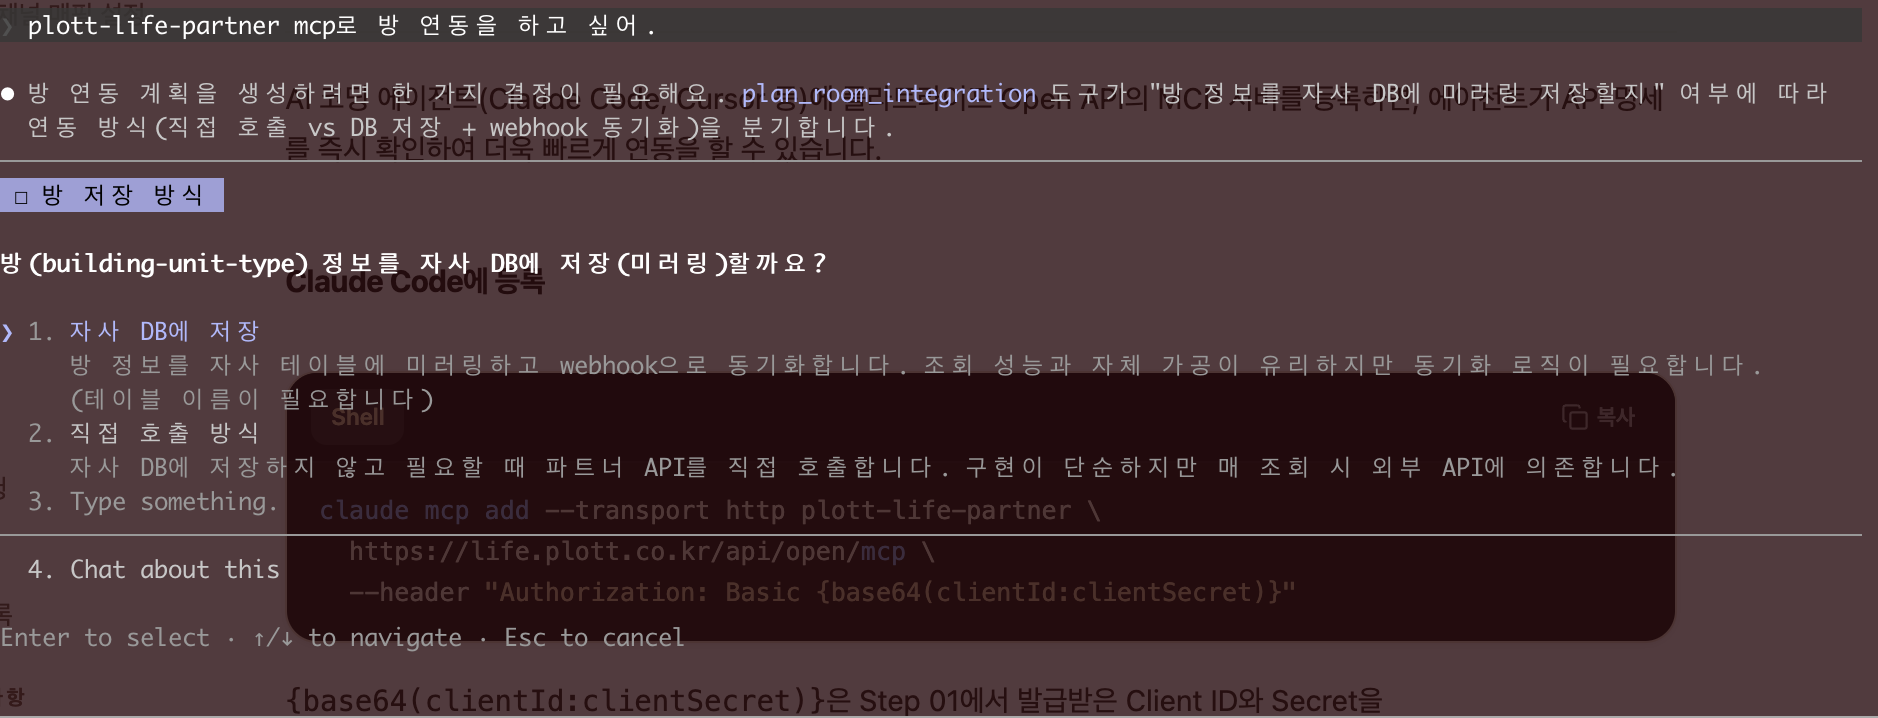
AI 코딩 에이전트(Claude Code, Cursor 등)에 플라트라이프 Open API의 MCP 서버를 등록하면, 에이전트가 API 명세를 즉시 확인하여 더욱 빠르게 연동을 할 수 있습니다.
Claude Code에 등록
claude mcp add --transport http plott-life-partner \
  https://life.plott.co.kr/api/open/mcp \
  --header "Authorization: Basic {base64(clientId:clientSecret)}"
{base64(clientId:clientSecret)} 은 Step 01에서 발급받은 Client ID와 Secret을 clientId:clientSecret 형식으로 이어 붙인 뒤 base64로 인코딩한 값입니다.
PHASE 02 · 연동
연동 방식을 선택하고 구현·운영을 진행
IMPLEMENT & OPERATE
연동 방식 선택
파트너 서비스에서 어디까지 직접 다룰지에 따라 두 가지 연동 방식이 있습니다. 방식 A · 로그인 연동 은 방 목록과 로그인까지만 연동하고 계약·결제는 플라트라이프로 넘기는 핸드오프 방식이며, 방식 B · 계약 연동 은 계약 API까지 연동해 파트너 앱 안에서 판매를 완결하는 방식입니다. 아래 탭에서 방식을 선택하면 그에 맞는 구현·운영 단계가 표시됩니다.
파트너 서비스에서 어디까지 직접 다룰지에 따라 두 가지 연동 방식 중 하나를 선택합니다. 아래 구현·운영 단계는 선택한 방식에 맞춰 표시됩니다. 앞선 공통 단계(앱 신청·키 생성, 테스트 방·채널 매핑, MCP)와 이후 공개 채널 단계는 두 방식 모두 동일합니다.
방식 A · 로그인 연동 (핸드오프)
파트너 서비스에는 방 목록까지만 노출하고, 계약·결제는 플라트라이프 페이지로 넘깁니다. 회원을 미리 생성해 두고 로그인 티켓(SSO)을 발급해 넘기면, 사용자는 플라트라이프에서 자동 로그인된 상태로 계약을 이어갈 수 있습니다. 필요한 스코프는user:write, userLoginTicket:write 입니다.IMPLEMENT · 로그인 연동
구현 단계
1. 방 목록 연동
파트너 서비스에서 플라트라이프 방(매물)을 조회해 사용자에게 노출하는 단계입니다.
GET /open/v1/building-unit-type 로 방 목록을, GET /open/v1/building-unit-type/{id} 로 단건 상세를 조회합니다. 목록은 page·size 페이지네이션을 사용하며 기본 size는 20입니다. 무한 스크롤은 응답의 totalItems 로 더 불러올 항목이 있는지 판단합니다.
page선택0부터 시작하는 페이지 번호size선택 · 기본 20페이지당 항목 수operationStatus권장일반 사용자에게 노출할 때는 PUBLISHED(운영중)만 조회
const res = await fetch(
  'https://life.plott.co.kr/api/open/v1/building-unit-type?page=0&size=20&operationStatus=PUBLISHED',
  { headers: { Authorization: `Basic ${credentials}` } },
);
const { items, totalItems, totalPages } = await res.json();
참고
방 금액 계산 정책(일할 임대료·할인·관리비·보증금·서비스 수수료)과 저장 방식(직접 호출 / 미러링)은 두 방식 모두 동일합니다. 자세한 공식과 계산 예시는 API 문서에서 확인하세요.2. 회원 생성 연동
POST /open/v1/user 로 파트너 서비스 회원을 플라트라이프 회원으로 생성합니다. externalUserId (파트너 회원 식별자)를 기준으로 멱등 처리되어, 이미 생성된 회원이면 기존 회원 ID를 반환합니다.
externalUserId필수파트너 서비스의 회원 식별자 (멱등 키)email필수회원 이메일firstName / lastName필수이름 / 성phoneCode / phoneNumber필수국가번호 / 전화번호 (예: 82 / 1012345678)countryCode선택국가코드 (예: KR)
const res = await fetch('https://life.plott.co.kr/api/open/v1/user', {
  method: 'POST',
  headers: {
    'Content-Type': 'application/json',
    Authorization: `Basic ${credentials}`,
  },
  body: JSON.stringify({
    externalUserId: 'partner-user-001',
    email: 'user@example.com',
    firstName: '길동',
    lastName: '홍',
    phoneCode: '82',
    phoneNumber: '1012345678',
    countryCode: 'KR',
  }),
});

const { id } = await res.json(); // 플라트라이프 회원 ID
3. 로그인 티켓 발급 연동
POST /open/v1/userLoginTicket 로 해당 회원의 일회용 로그인 티켓을 발급합니다. 요청에는 userId (회원 생성 응답의 id) 또는 externalUserId 중 하나를 담습니다. 응답으로 받은 ticket 은 5분간 유효 하며 1회만 사용 할 수 있으므로, 사용자가 플라트라이프로 넘어가기 직전에 발급하세요.
userIduserId / externalUserId 중 택1플라트라이프 회원 ID (회원 생성 응답의 id)externalUserIduserId / externalUserId 중 택1파트너 서비스의 회원 식별자
const res = await fetch(
  'https://life.plott.co.kr/api/open/v1/userLoginTicket',
  {
    method: 'POST',
    headers: {
      'Content-Type': 'application/json',
      Authorization: `Basic ${credentials}`,
    },
    body: JSON.stringify({ externalUserId: 'partner-user-001' }),
  },
);

const { ticket } = await res.json(); // 5분 TTL · 1회용
팁
이 방식에서는 계약 API를 연동하지 않습니다. 계약·결제는 플라트라이프 페이지에서 진행되므로, 파트너 서비스는 방 목록 노출과 로그인 연동까지만 구현하면 됩니다.OPERATE · 로그인 연동
운영 단계
- 파트너 서비스에서 방 목록을 노출합니다.
- 사용자가 방을 선택하면 해당 회원의 로그인 티켓을 발급 합니다 (회원이 없으면 회원 생성 후 발급).
- 발급한 티켓을 담아
https://life.plott.co.kr/rooms/{id}?ticket=<ticket>로 리다이렉트합니다. 플라트라이프가 티켓을 교환해 자동 로그인 시킵니다. - 이후 계약·결제는 플라트라이프 페이지에서 진행됩니다. 파트너 서비스는 계약 흐름을 직접 다루지 않습니다.
티켓 수명
로그인 티켓은 발급 후 5분간만 유효하고 1회만 사용할 수 있습니다. 리다이렉트 직전에 발급해 지연 없이 전달하세요.PHASE 03 · 공개 채널
검증을 마치면 공개 채널로 전환해 본격 운영
PUBLIC CHANNEL
공개 채널 심사 요청
비공개 채널에서 충분히 연동을 검증했다면, 공개 채널 전환을 요청해 모든 호스트의 방에 접근할 수 있도록 권한을 확장합니다. 이 단계는 두 연동 방식 모두 동일합니다.
요청 방법
- 앱 상세 페이지의 신청 상태 카드에서 [공개 채널 전환 신청] 을 클릭합니다.
- 운영팀이 검토 후 결과를 이메일로 안내합니다.
- 반려된 경우 사유를 확인하고 보완 후 다시 신청할 수 있습니다.
PUBLIC CHANNEL
공개 채널 활성화
공개 채널이 되면 별도 작업 없이도 플라트라이프에 등록된 모든 호스트의 방을 Open API로 조회할 수 있습니다. 조회한 방 중 다룰 방을 선택해 채널 매핑을 설정하면, 선택한 연동 방식의 흐름으로 그대로 운영할 수 있습니다.
방 전체 목록 조회
const res = await fetch(
  'https://life.plott.co.kr/api/open/v1/building-unit-type?page=0&size=20',
  { headers: { Authorization: `Basic ${credentials}` } },
);
const { items, totalItems, totalPages } = await res.json();
기본 동작
기본적으로운영중 상태의 방만 노출됩니다. 본인이 등록한 방만 보려면 isMine=true 로 요청할 수 있습니다.REFERENCE · 공통 사항
인증·에러·Rate Limit 참고 사항
COMMON
인증
Open API의 모든 요청은 HTTP Basic 인증을 사용합니다. 앱 상세 페이지에서 발급받은 Client ID 와 Client Secret 을 콜론으로 이어 붙인 뒤 base64로 인코딩해 Authorization 헤더에 담아 보내세요.
const credentials = Buffer.from(
  `${process.env.CLIENT_ID}:${process.env.CLIENT_SECRET}`,
).toString('base64');

const res = await fetch('https://life.plott.co.kr/api/open/v1/contract-channel', {
  headers: {
    Authorization: `Basic ${credentials}`,
  },
});
Client Secret 보안
Client Secret은 발급 시 한 번만 노출됩니다. 분실하거나 외부에 노출된 경우 앱 상세 페이지에서 즉시 클라이언트를 삭제하고 새로 발급받으세요.COMMON
에러 응답
에러 발생 시 RFC 9457 Problem Detail 형식으로 응답합니다.
{
  "type": "about:blank",
  "title": "Not Found",
  "status": 404,
  "detail": "예약 매핑을 찾을 수 없습니다.",
  "instance": "/open/v1/booking"
}type에러 타입 URItitleHTTP 상태 텍스트statusHTTP 상태 코드detail에러 상세 메시지instance요청 경로
COMMON
Rate Limit
서비스 안정성과 모든 파트너의 공평한 사용을 위해 Open API에는 호출량 제한이 적용됩니다.
적용 범위/open/** 의 모든 엔드포인트제한 단위호스트 계정한도분당 300 요청회복 방식연속 회복(greedy refill). 약 1초마다 5회 분량씩 토큰이 다시 채워집니다.
한도 초과 응답
한도를 초과한 요청은 즉시 거부되며 429 Too Many Requests 가 반환됩니다.
권장 클라이언트 처리
429응답을 받으면 즉시 재시도하지 말고 일정 시간 대기 후 재시도하세요.- 평균 약 200ms 간격 이면 안정적으로 호출할 수 있습니다.
- 짧은 시간 안에 다수 요청이 필요한 배치 작업은 호출 간격을 두거나 지수 백오프(exponential backoff) 재시도를 구현하세요.
팁
정상 사용 패턴에서429 가 자주 발생한다면 한도 상향 검토가 가능하니 별도로 문의해주세요.DOCUMENTATION
엔드포인트 전체 명세 보기
요청·응답 스키마, 파라미터, 에러 코드까지 한곳에서 확인하세요.